12/10/20 - First Release (QR)
12/17/20 - Added BB reinstallation and changed some wording (QR)
2/2/21 - Added details about “Safety” and “I2C” connections (QR)
5/21/21 - Added images about “Safety” and “I2C” connections (MR)
9/21/21 - Added PicoFlex disconnecting video (MR)
10/21/22 - Added Kinetic Control Spindle High Voltage check and change videos (CK)
In the case that the main circuit board needs to be replaced on a Pocket NC V2 series machine, it is best to follow the steps below to ensure proper removal and installation.
Power down the Pocket NC V2 and unplug the USB cord and power cord. Remove the USB from the Beaglebone board since the board will be removed.
Remove the side cover plate. This is the cover on the side of the machine that has the Pocket NC logo and a handful of warning symbols on it. If you wish to completely disconnect this cover please do so after reading Step 2 below.
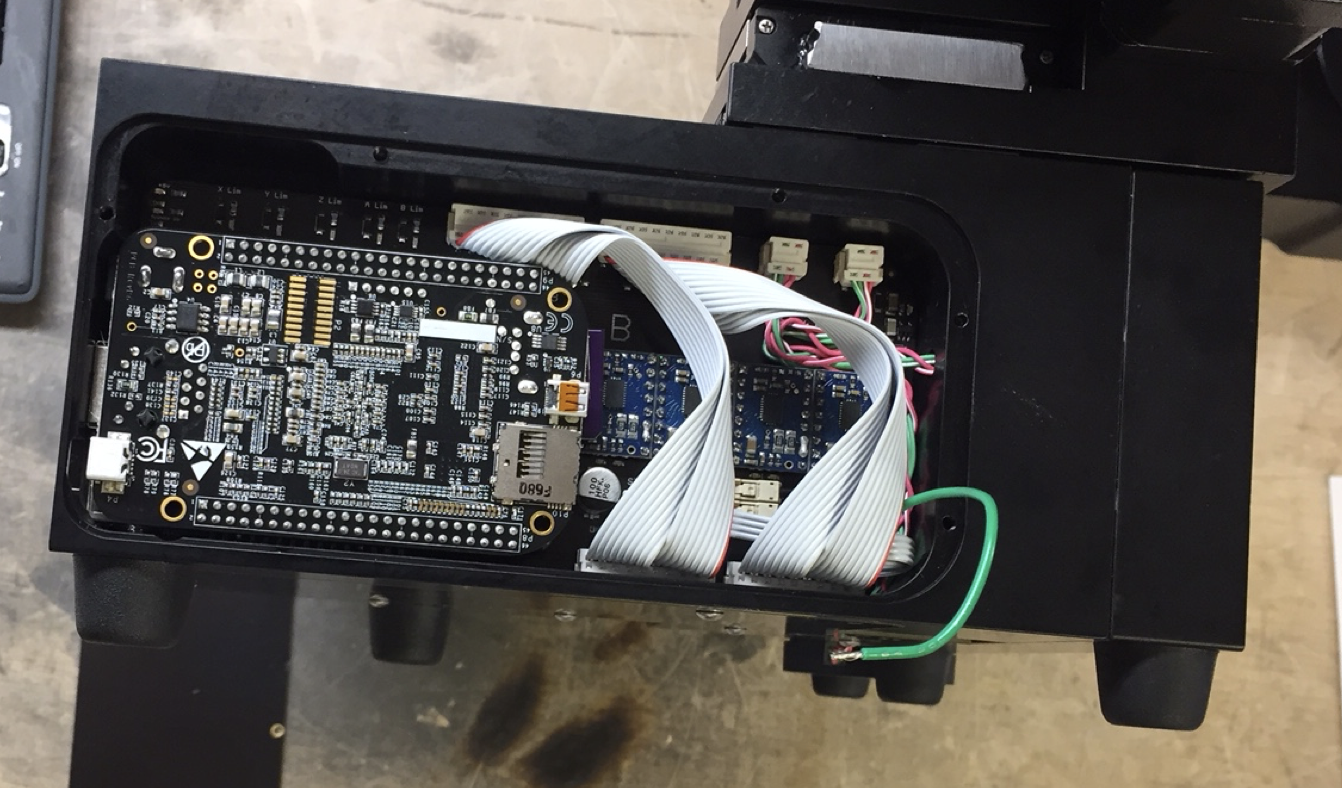
Remove the Beaglebone board (board on the left side of the compartment). To do this use two fingers to carefully wiggle and pull the top left corner and the right side until the Beaglebone board comes out. Carefully guide the parts that extend through the chassis of the machine out of the side pocket.
Disconnect all of the white Picoflex (multi-wire) connectors by gently pulling up and wiggling them off of the board they are attached to. Do not pull on the wires of the connectors and be careful not to break the bottom half of the connector off of the board itself. The Picoflex connectors are circled in red in the next picture and the video below shows a few suitable lifting points and the operation of the connectors. Please note that not all Picoflex connectors are circled in the photo but all need to be disconnected.
Disconnect the single wires by pressing down on the small tab on top of the connector and pulling on the wire at the same time. A 2mm allen key and needle nose pliers work well for this. The single wire connectors are circled in green in the picture below.
|
Remove the 3 button head screws that are holding the board to the machine.
Pull the board from the machine. It may help to loosen the bottom cover’s closest fastener, allowing the bottom cover to be flexed down and the main board to clear the pins at the bottom of the side compartment.
Insert the new main circuit board into the side compartment. This is more easily done by inserting the board at an angle, starting with the right side. Flexing the bottom cover to clear the pins will also help significantly. Be very careful not pinch any wires in this process.
Secure the board to the machine by reinstalling the 3 button head screws.
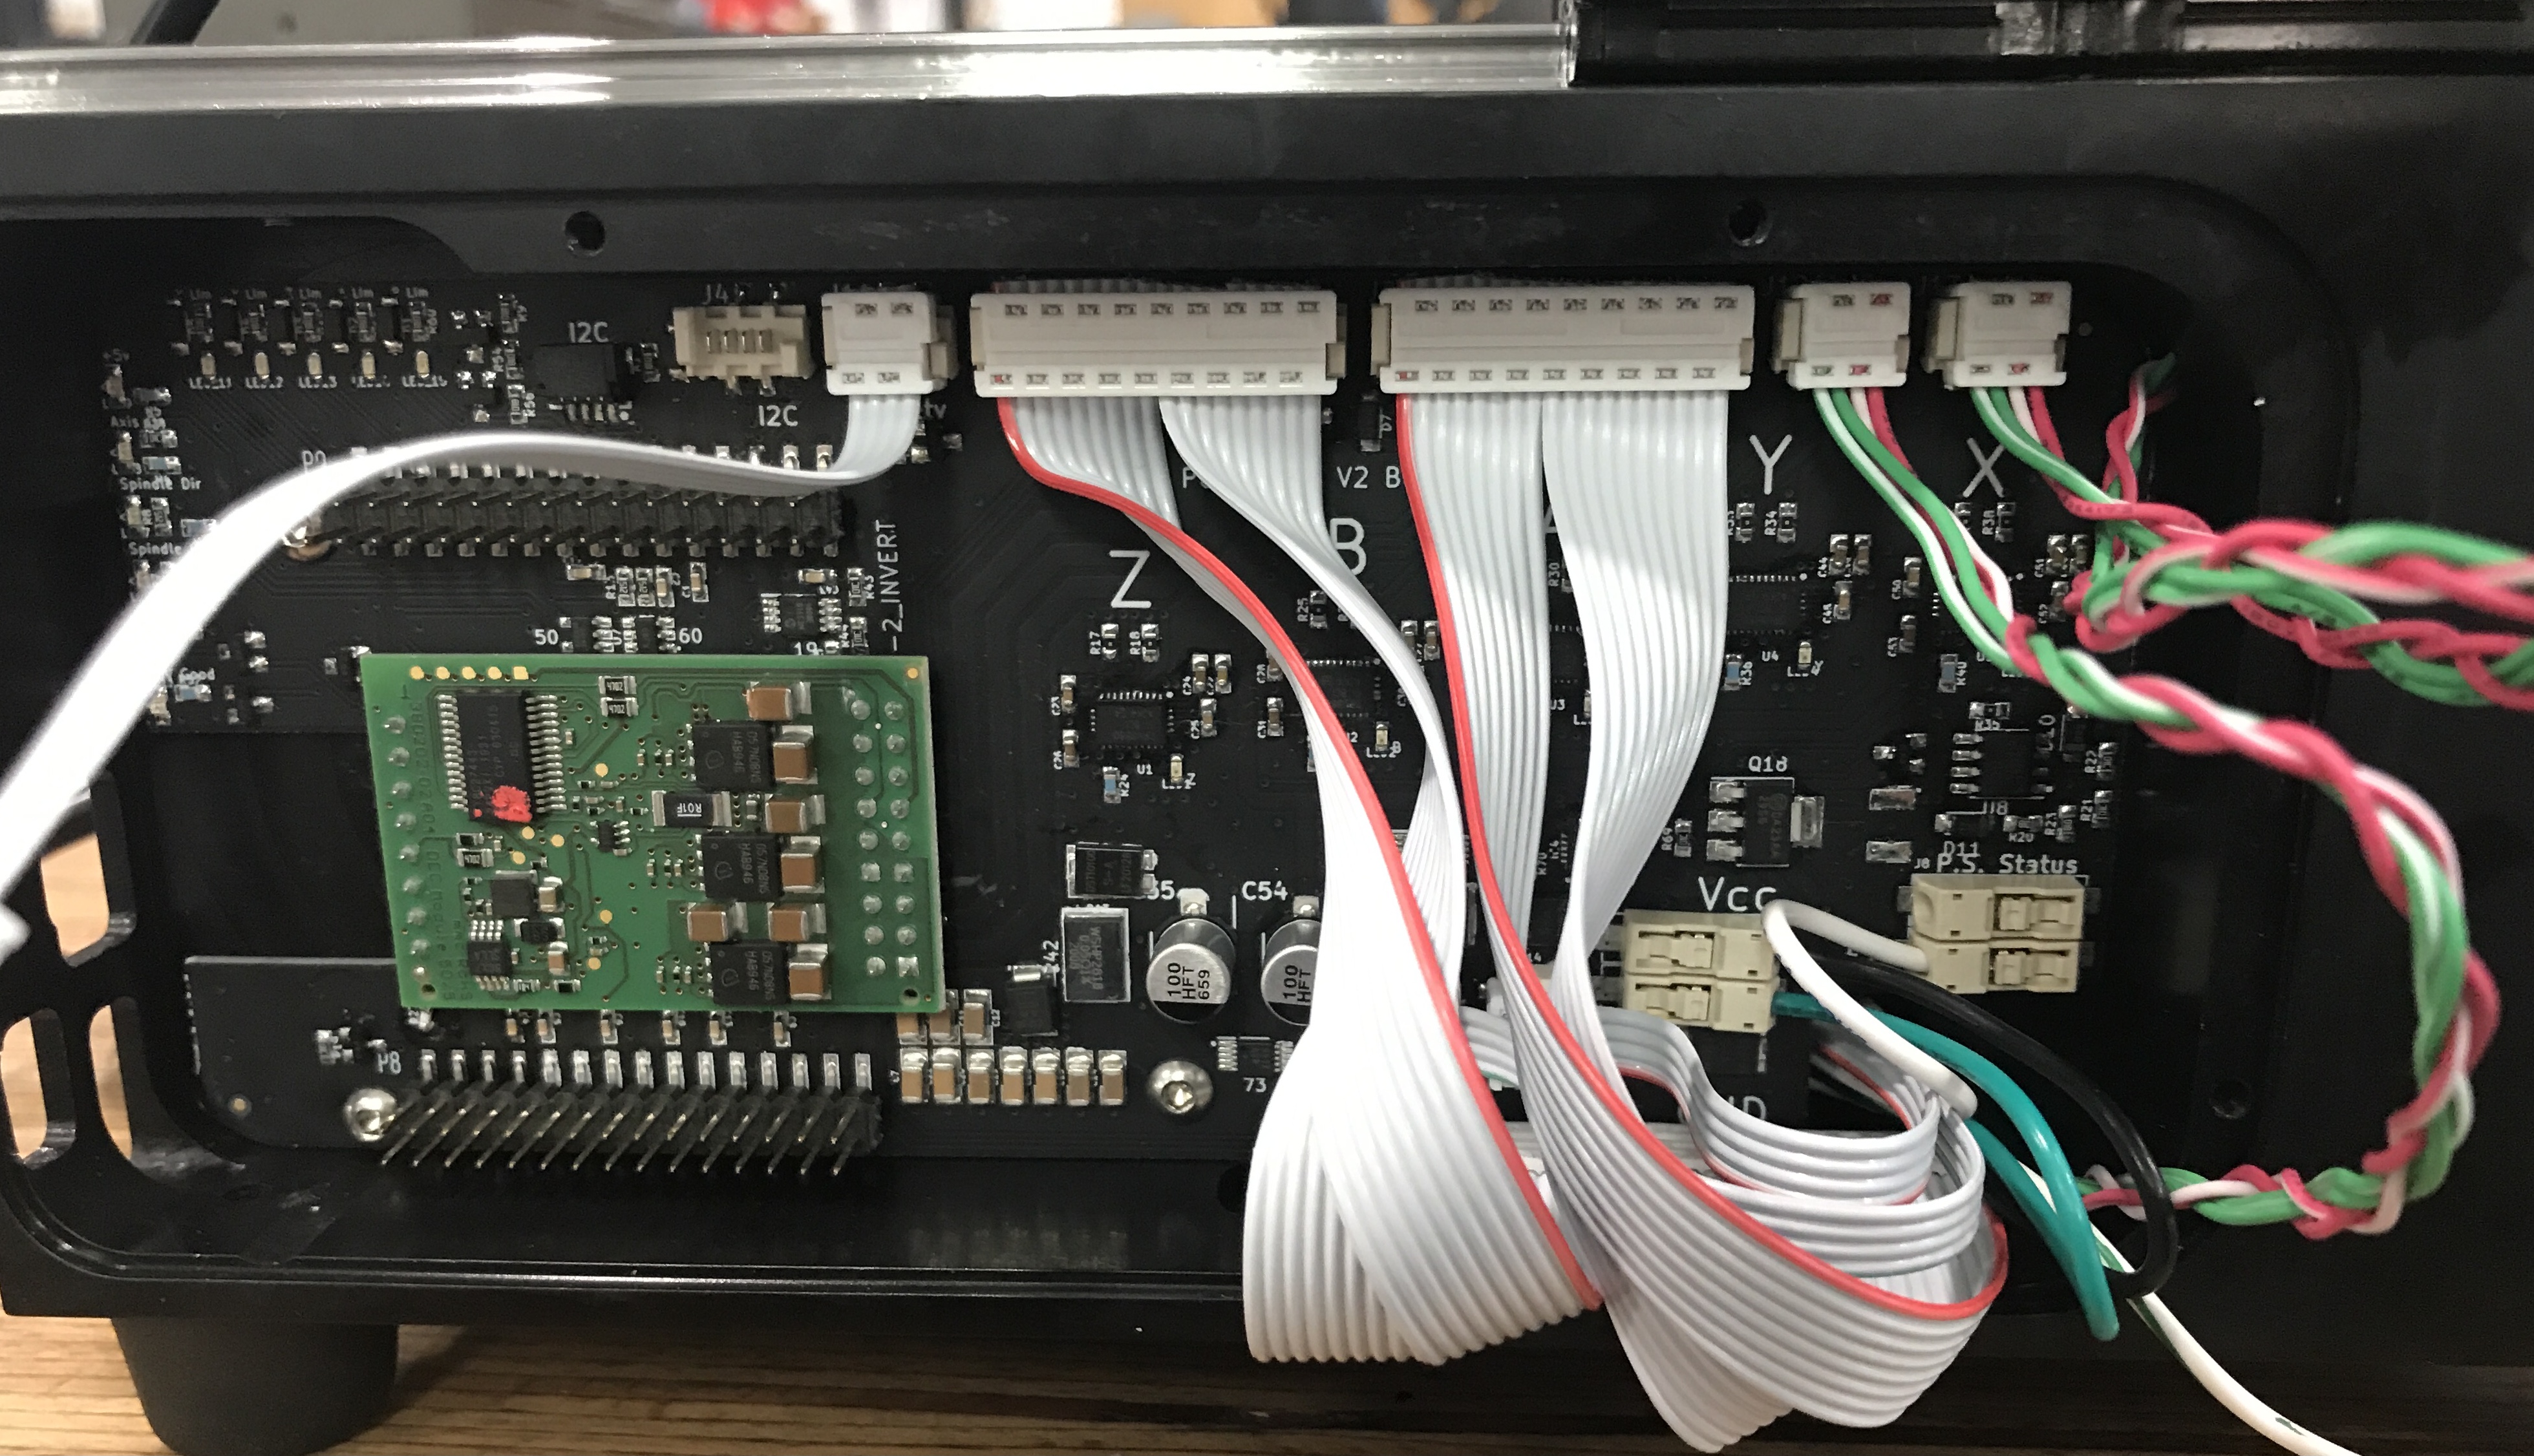
Reconnect the single wire connections by simply pushing the wire into the connector. Gently tug on each wire afterwards to confirm good connection. Refer to the picture below to ensure proper placement of each wire.
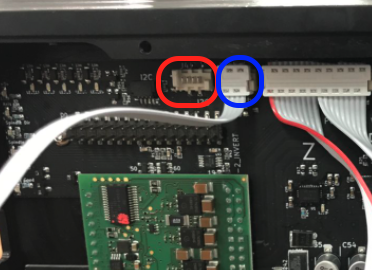
Reconnect the multi-wire connections. Pay close attention to orientation and placement of each set of wires and do not force any of the connections together, they should all snap together without much force. Refer to the picture below to ensure proper placement of each set of wires. The extra 4 pin Picoflex connector found on V2-50 machines should be connected to the connector labeled “I2C”. Some older machines equipped with the safety switch feature may need a new 4 pin ribbon cable to connect the “Safety” connector above the beaglebone to the connector on the side cover plate. If this was not shipped with your new board, please contact the service department at Pocket NC.
Begin by angling the board and fitting the USB into its slot on the front of the machine.
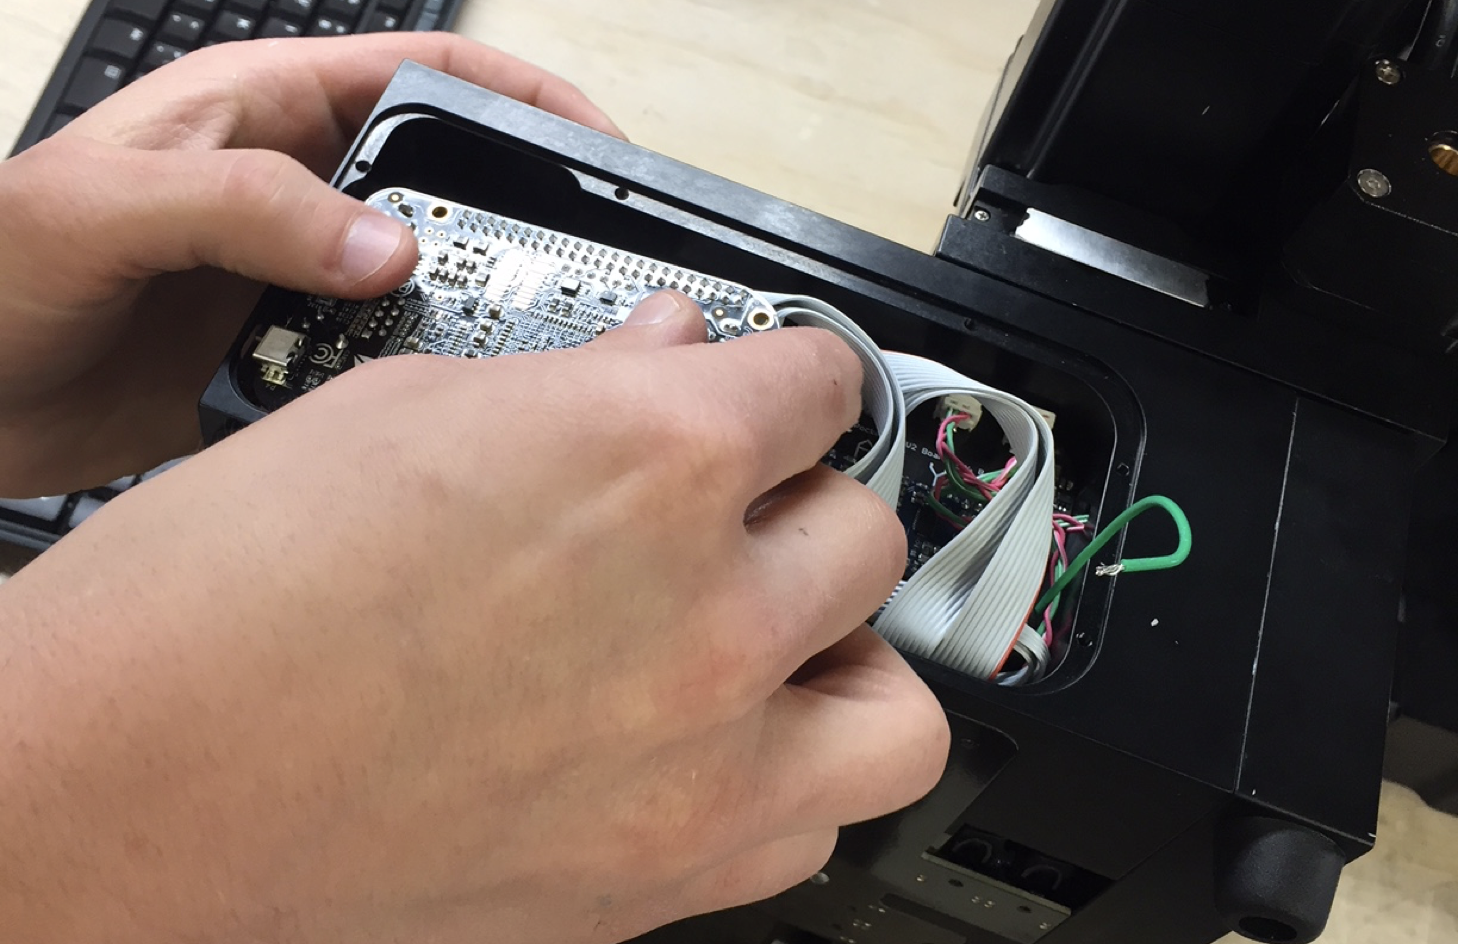
Carefully set the beagle board onto the main circuit board. Align the left-most pins on the main circuit board with the left-most pin holes on the Beaglebone board. Press down on the Beaglebone board to seat it on the pins.
Re-install the side panel and the five screws to hold it in place.
Connect the power cable and USB cable and power on the machine.
If the main circuit board being installed is labeled “Pocket NC V2 Board Rev. 0.1.0” or higher (circled in red below), the machine’s SPINDLE_HIGH_VOLTAGE value should be checked.
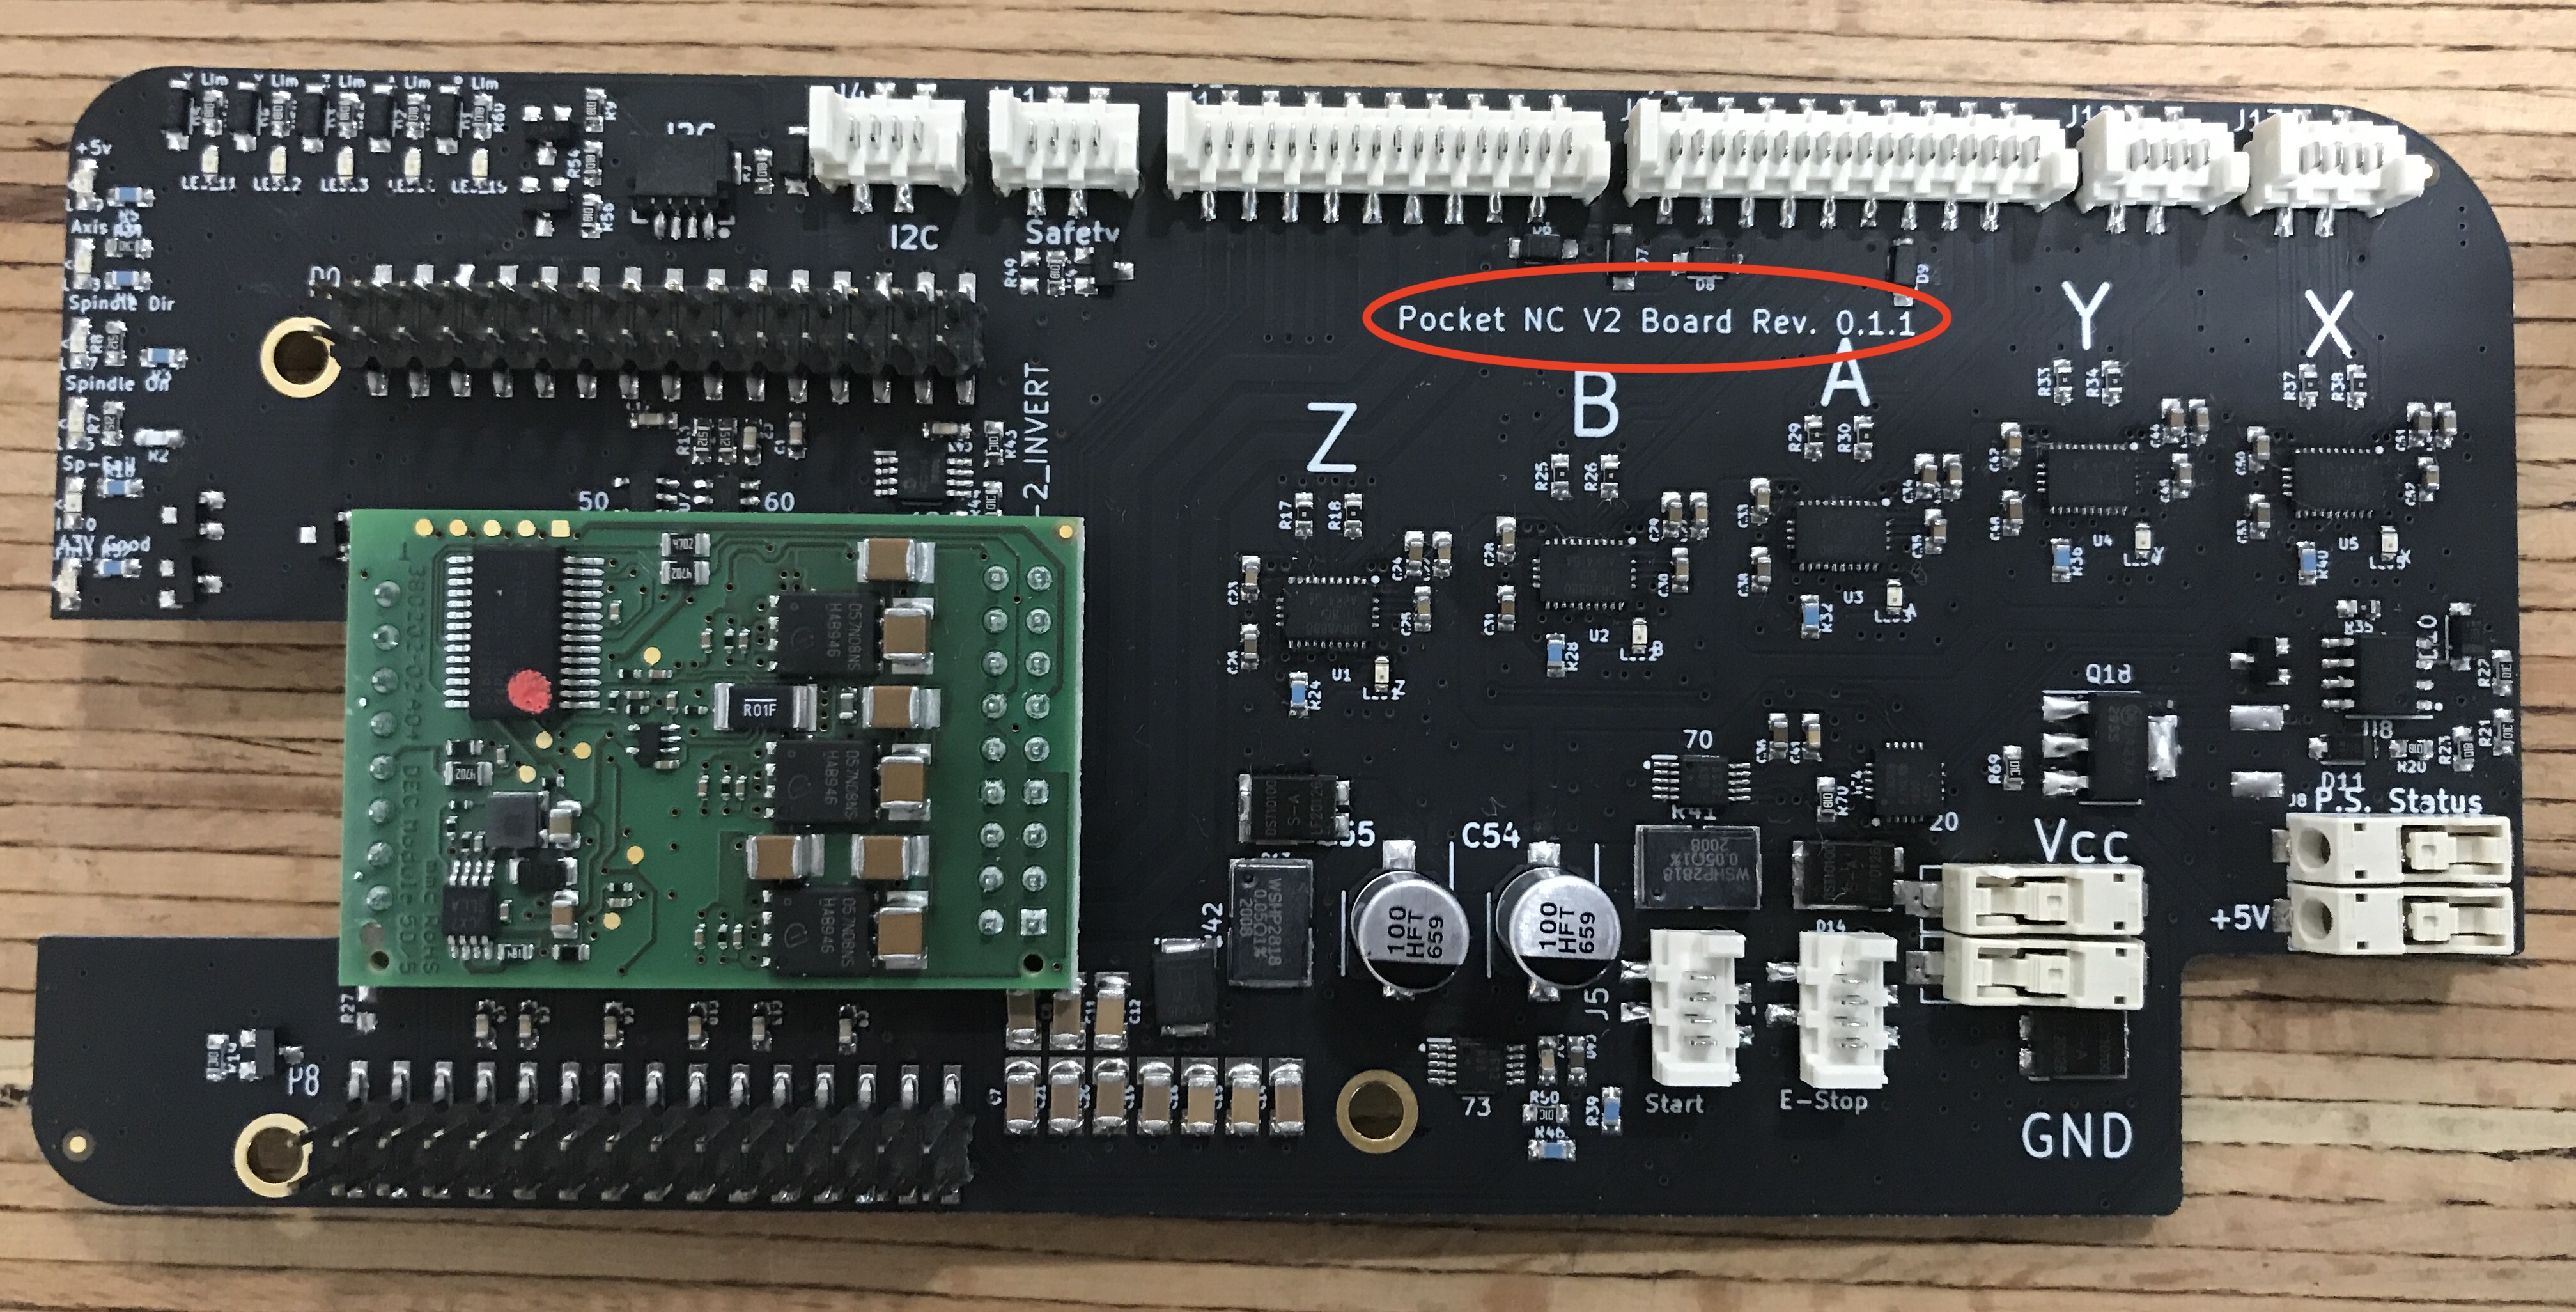
Depending on the age of the machine, this value may need to be changed. V2-10 machines should have a value of 2.7888 and V2-50 machines should have a value of 3.3572. To check and change the spindle voltage, follow the steps in the videos below.
Checking spindle voltage value for Kinetic Control:
Checking spindle voltage value for Legacy Software:
If the SPINDLE_HIGH_VOLTAGE field does not show up under the POCKETNC section on your machine, it is likely that the value needs to be changed. (If at any point in LinuxCNC it asks for a username or password, enter “default” for both).
Changing spindle voltage value for Kinetic Control:
Changing spindle voltage value for Legacy Software: