First Release: November 2017 (JD)
...
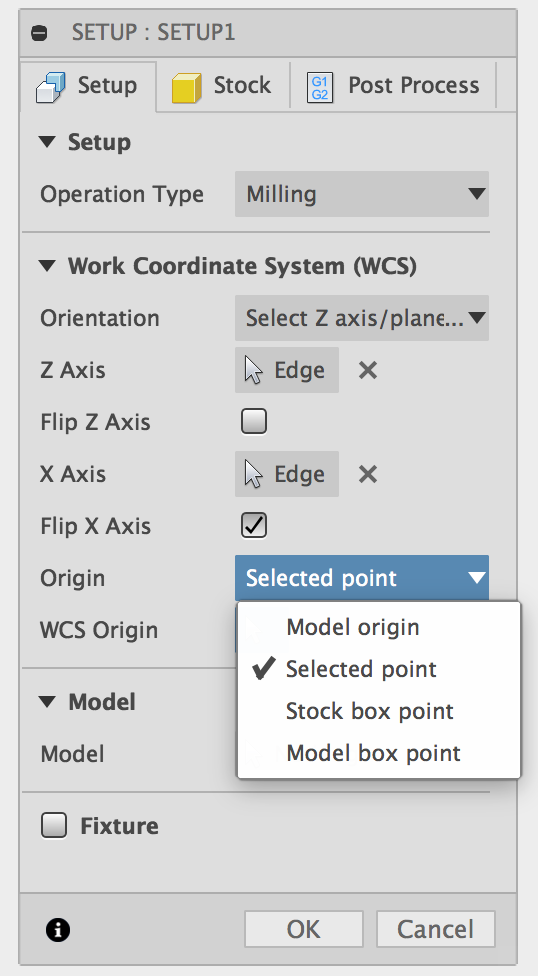
Note: By selecting the top of the B-table offset sketch as the WCS Origin, you are setting your CAM up for “Center of Rotation” programming. This means that your real-world setup must match your 3D model setup as closely as possible for the machine to cut the stock in the right place. Alternatively, you may choose to select a WCS Origin point that is relative to the stock or part you are cutting, which does not require your real-world setup to match your 3D model setup as closely. This method would require you to use Pocket NC’s RWO (Rotated Work Offsets) feature. More information on RWO can be found in the RWO Tutorial.
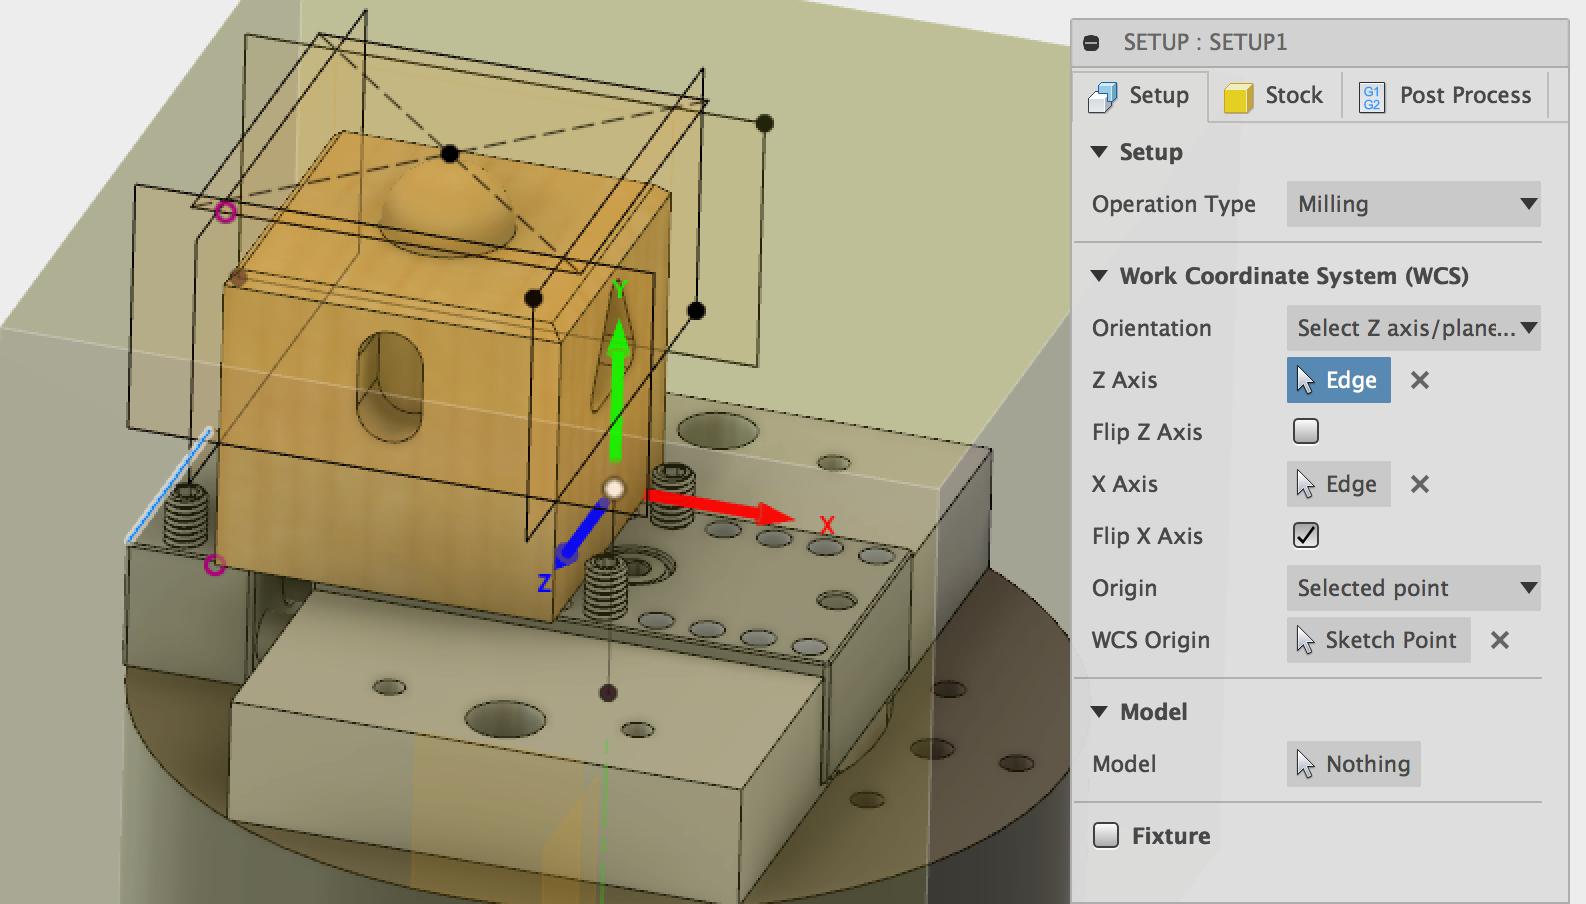

Next, set which parts of the model are going to be machined and which ones are part of the fixture. Click on the “model” selection box then click on the model of the V2 First Part. The selection box should now say “body” or “component”. This will set the cube as the model that will be machined.
...
In order to cut the part in the way described in this tutorial the ⅛ inch single flute cutter will need to be held in an extended tool holder. The tool will need to stick out of the holder about 1.25 inches as shown in the picture below.
If you are using the cutter that was sent pre installed in a tool holder with your machine, you will need to increase the tool stick-out about 3/4 of an inch in order to make this part. There should be about a three quarters of an inch of the shank of the tool visible sticking out of the collet.
...
In the geometry tab, set up the tool orientation so that the coordinate system matches that of the image below. You will need to select the coordinate system by picking the X and Z axes and using the “flip axis” buttons to orient them appropriately.
It is critical to get your toolpath oriented correctly! It must match the picture below exactly.
Also make sure that the toolpath origin is set to match the world coordinate system origin that you defined in the setup. The origin must be set to: “Setup WCS Origin”
Next, click the “Stock Contours” box to check it. Because the stock is square, the toolpath will automatically use the outline of the top of the stock as the boundary for the toolpath. You do not have to select a contour. Click the “Heights” tab to continue.
...